How to design a plywood bookshelf for your space
Start with the space you have and the things the bookshelf needs to hold. Set its dimensions, check the panel arrangement in 3D, and make a document to review or discuss with a shop. You can plan your own cuts later.
The parts of a plywood bookshelf
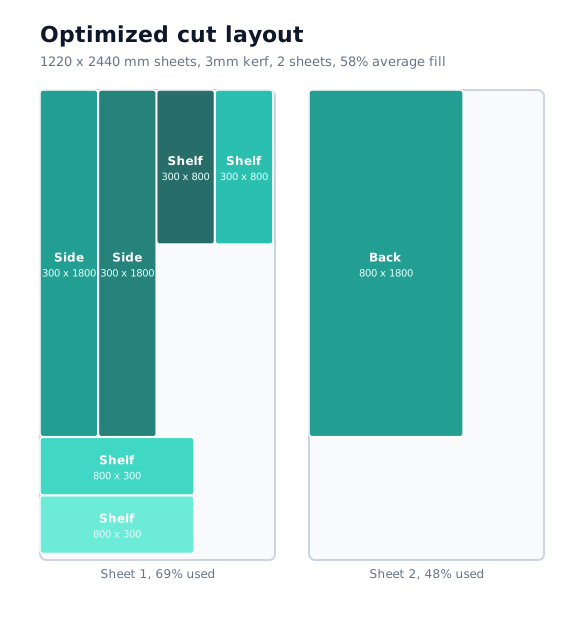
Almost every basic bookshelf is the same short list:
- Two sides. Full height, they carry the load down to the floor.
- A top and a bottom. They tie the sides together and square the case.
- Shelves. Fixed or adjustable, sized to sit between the sides.
- A back panel. Part of the bracing design. Its thickness and attachment affect resistance to side-to-side movement.
Use those parts as a starting point. Dimensions, joints, hardware, and support still need to suit your materials and the intended load.
Pick dimensions that actually work
Depth. Paperbacks need about 150mm. Standard hardcovers and binders want 250 to 300mm. A depth of 280mm handles most home libraries with room to spare.
Height. Measure the available space and allow for installation access. Plan suitable anti-tip anchoring for a freestanding bookcase, following the hardware instructions and checking the wall construction. Height alone is not a stability check.
Shelf span. There is no universal sag-free width. Plywood grade, thickness, shelf depth, load, and support all affect deflection. Treat these spans as prompts for review, not load ratings:
| Shelf span | Checks to make with 18mm plywood |
|---|---|
| Up to 760mm (30 in) | Check grade, shelf depth, load, and support |
| 760 to 900mm | Review deflection and possible reinforcement |
| Over 900mm | Consider a divider or separate bays; verify the design |
A center divider shortens the clear span. Check how it connects to the shelves and how the load reaches the floor; adding a divider is not, by itself, a strength guarantee.
Choose and review the joinery
These are common approaches to discuss with the person making the bookshelf:
- Dados. Grooves that locate shelves in the sides. Their depth, fit, and remaining side thickness affect the construction.
- Screws and plugs. Fasteners through the sides into shelf edges. Select fasteners and pilot holes for the actual material.
- Shelf pins. Adjustable supports. Check their load rating, hole placement, and compatibility with the shelf and side material.
Turn the design into a cut list
A dimensioned parts list is useful before you choose how to cut anything. Use it to review the design or ask a cutting shop about materials, edge finishing, and a quote. See an example plan and the questions it leaves for review.
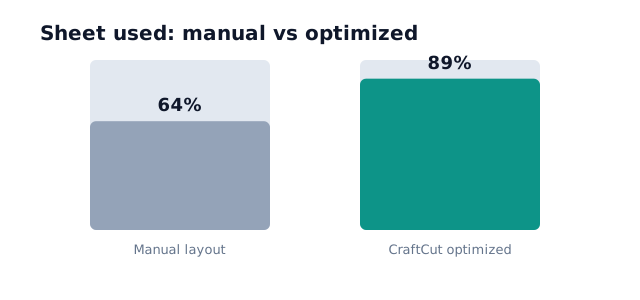
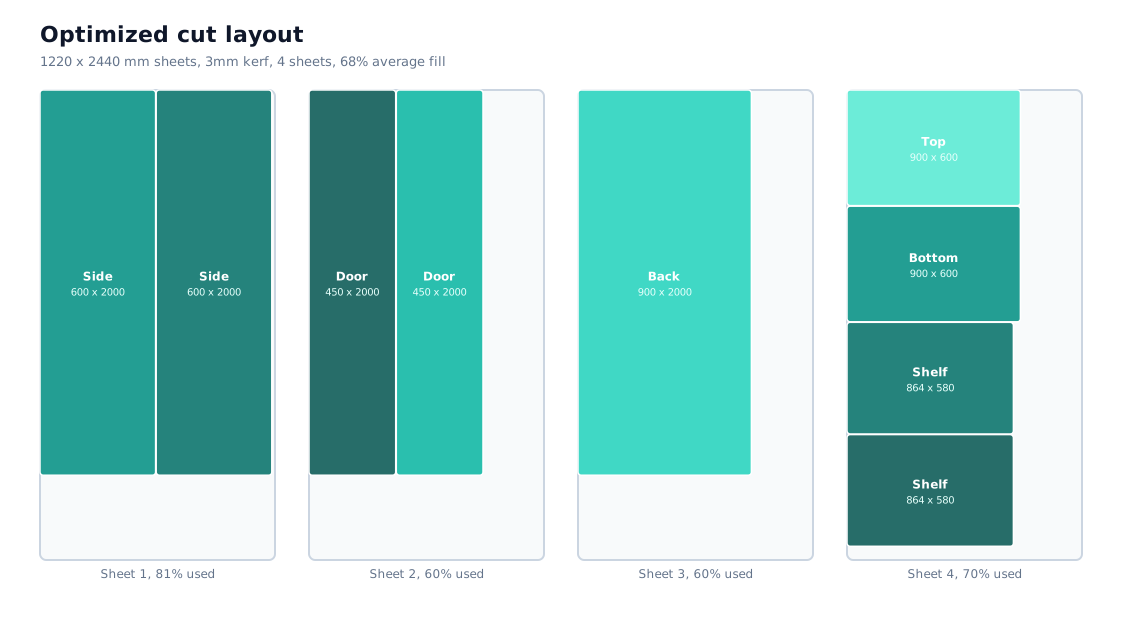
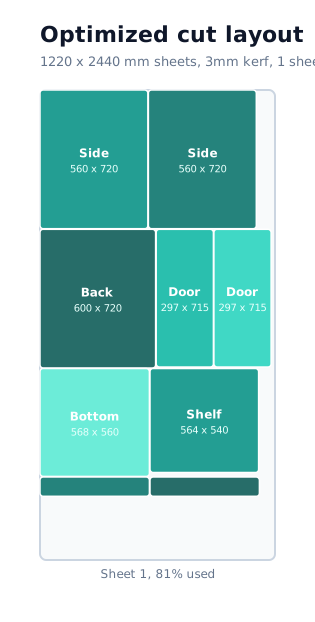
If you will cut the parts yourself, group them by material and thickness. Set the actual sheet sizes, saw kerf, trim, and grain direction, then calculate a layout. Check unplaced parts and the proposed cutting method before using it.
The bookshelf starting point: open the configurable template below and set width, height, depth, and shelf count. Review the generated panels in 3D, then make a planning draft, shop parts list, or your own cut plan. The template needs no account; text or photo AI and cloud backup require a free account. For cutting details, read how to reduce plywood waste.
Design your bookshelf now
Open the bookshelf template, adjust it for your space, and choose the document you need next.
Start designing No account for templates or a blank canvas. AI and cloud backup require a free account.FAQ
How thick should plywood be for a bookshelf?
18mm plywood is a common starting point, not a load rating. Choose thickness with the plywood grade, shelf depth, clear span, expected load and support in mind. Measure the actual stock and review the construction before building.
How wide can a plywood shelf be before it sags?
There is no universal sag-free span. Plywood grade, thickness, shelf depth, loading and support all matter. Review those together; a divider or suitable edge reinforcement may be needed. A 3D preview does not verify shelf strength.
Can I get a cut list for my bookshelf automatically?
Yes. Configure the bookshelf template and review its dimensions and materials. Make a planning or shop-quote draft, or set sheet size, kerf and grain to calculate your own cut layout. Templates and blank designs need no account; AI and cloud backup require a free account. Review the plan before cutting.